Security Radar Registration and Alarm Configuration
Last updated: March 2026
Scenario:
This guide provides an overview of the key preparations and settings required to use Security Radar.
It helps users quickly understand the basic configuration needed to integrate Security Radar with Genetec Security Center.
Note:
To receive Security Radar alarms in Genetec Security Center, the CGI listed below must be sent.
URL: /cgi-bin/set_radar?RADAR_ALM_IDSWITCH=1
Please send CGI commands by following the procedure outlined below.
① http://<ip>/cgi-bin/get_randomnum
② http://<ip>/cgi-bin/setdata?RADAR_ALM_IDSWITCH=1&Randomnum="The value obtained in step①"
For details of the CGI specifications, please refer to the Security Radar specification document.
CGI Command Document | i-PRO Products
Configure the settings of Camera‑02 (Radar map on Security Radar) from Genetec Security Center is not supported.
Configure the settings using the Security Radar web browser.
1. Preparation
2. Radar Settings
2.1 Radar Detection Settings
2.2 Detailed Settings
2.3 Time Synchronization
3. Genetec Security Center Settings
3.1 Radar Registration in the Config Tool
3.2 Event Notification Settings
3.3 Alarm Monitoring Screen Display Settings
4. Display in Security Desk
1. Preparation
Before starting to use Security Radar, map configuration and coordinate (latitude and longitude) settings are required.
For detailed procedures, please refer to the Security Radar guide.
Calibration guide
2. Radar Settings
This section explains the procedure for configuring Radar Detection on the Security Radar.
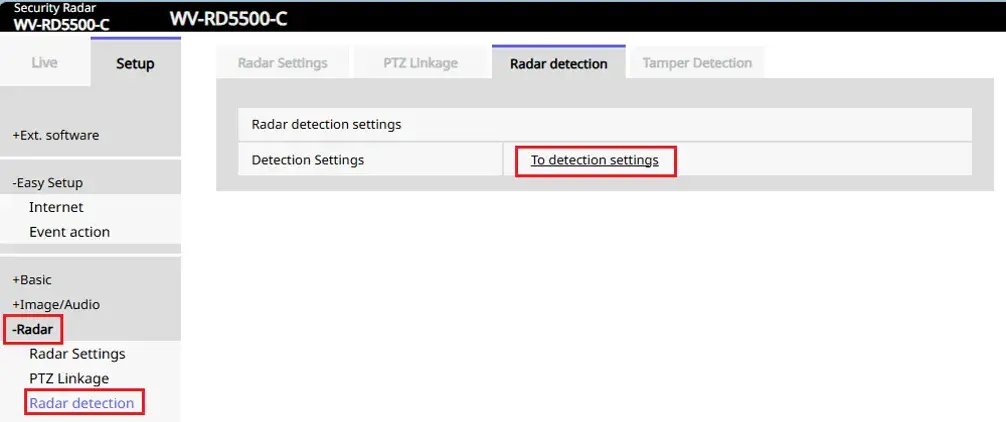
2.1 Radar Detection Settings
1. Open the Security Radar settings screen and click [Radar] > [Radar detection] > [To detection settings].
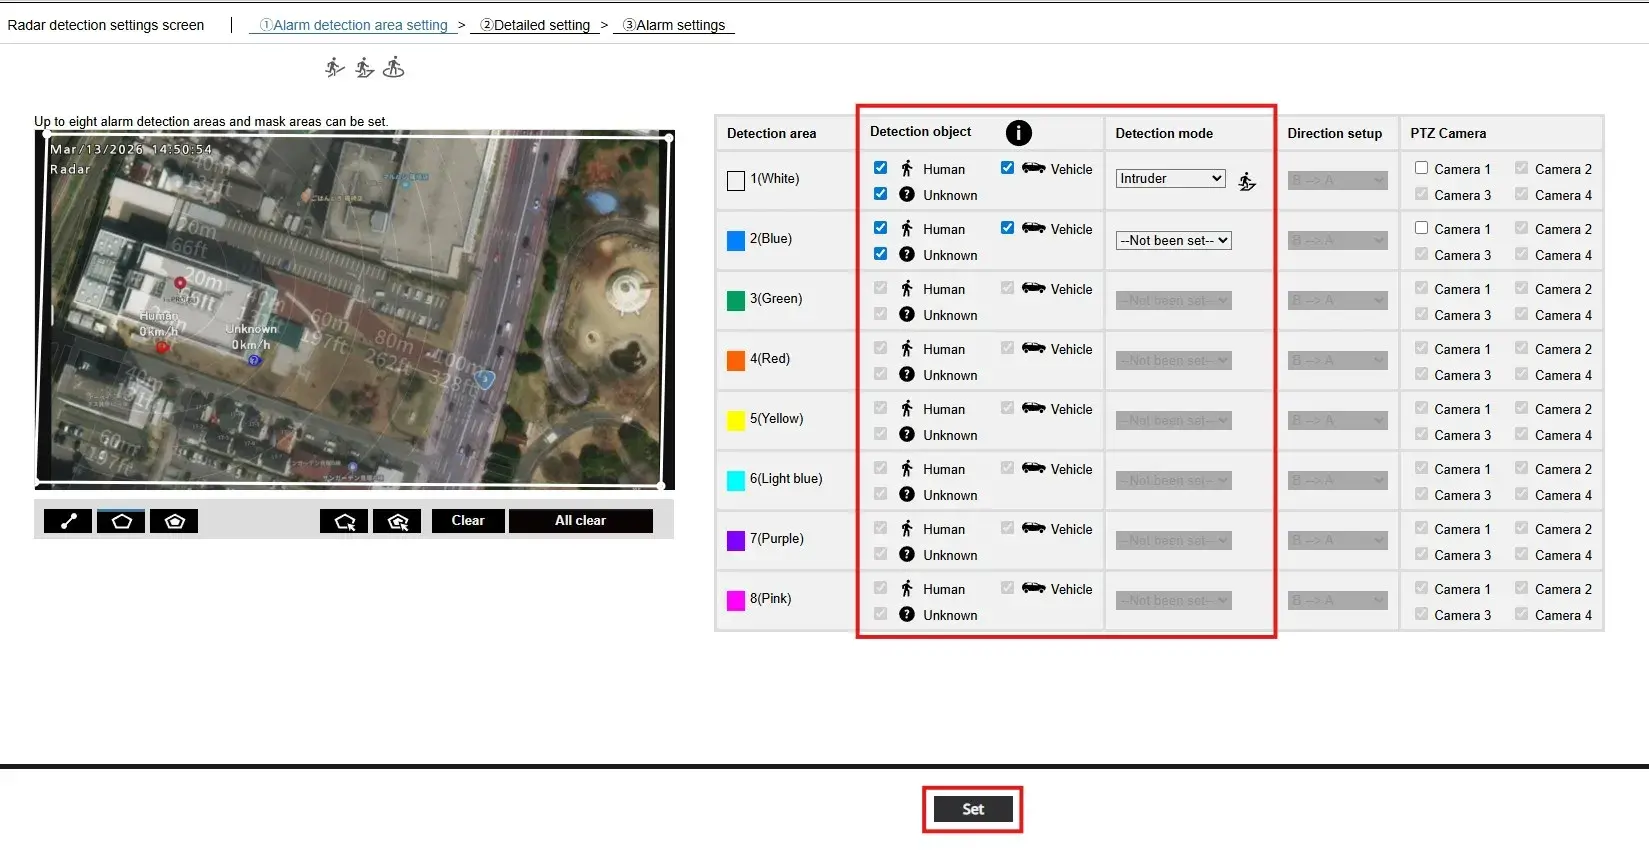
2. Specify the area on the map, configure [Detection object] and [Detection mode], and then click [Set].
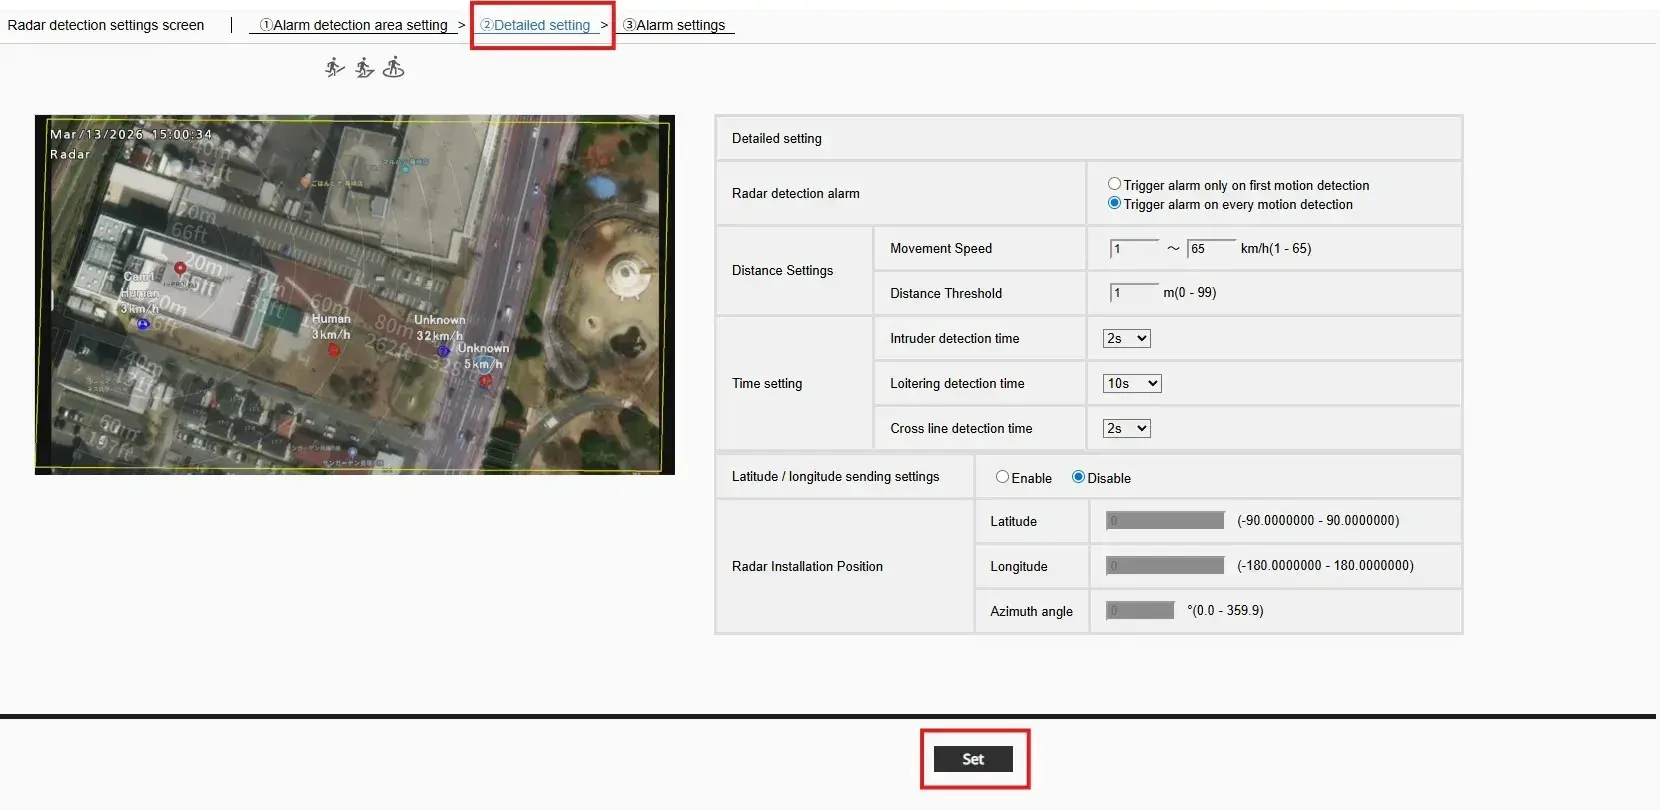
2.2 Detailed Settings
1. Click [② Detailed setting] > [Detailed setting] and configure the required settings.
2. After completing the settings, click [Set].
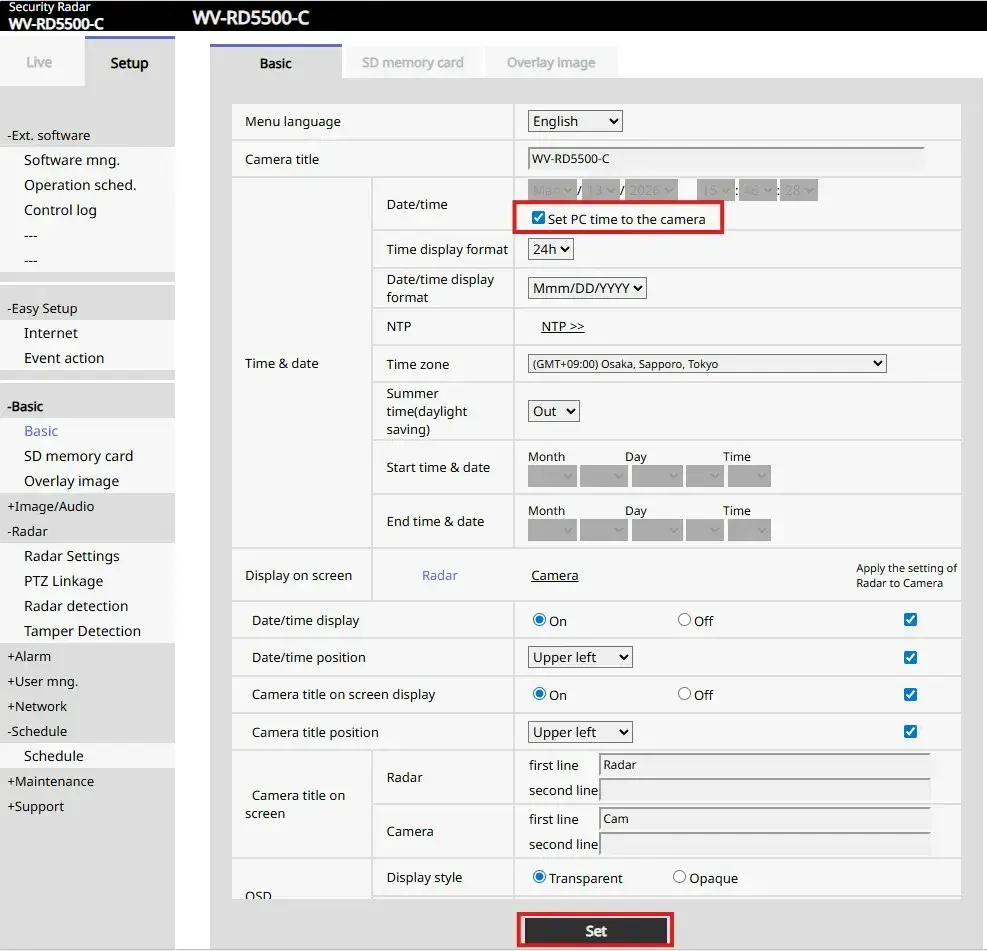
2.3 Time Synchronization
1. Click [Setup] > [Basic].
2. Click [Time & date] > [Date/time], and check [Set PC time to the camera].
3. Click [Set].
3. Genetec Security Center Settings
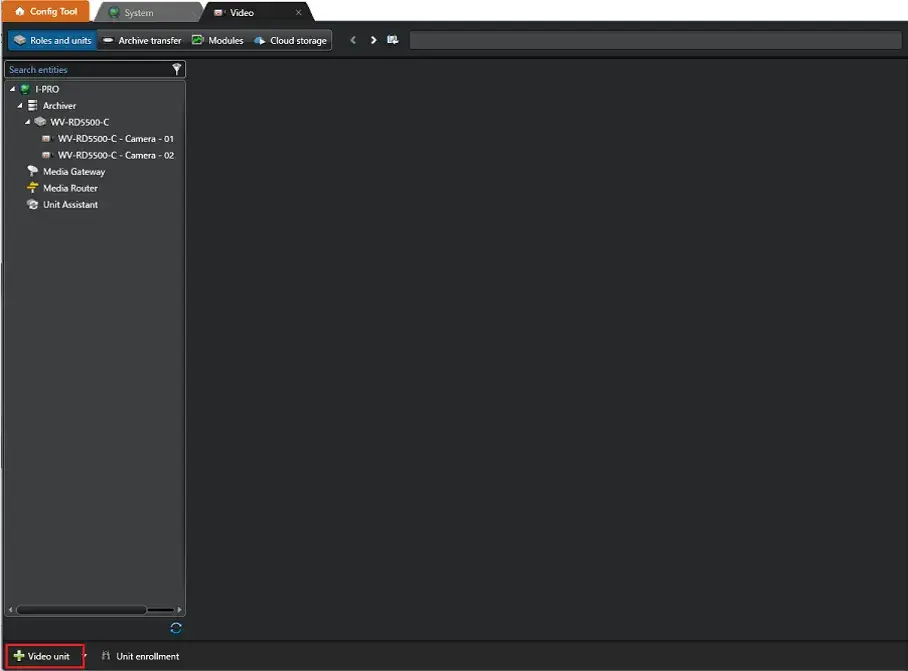
3.1 Security Radar Registration in the Config Tool
1. Click [+Video unit].
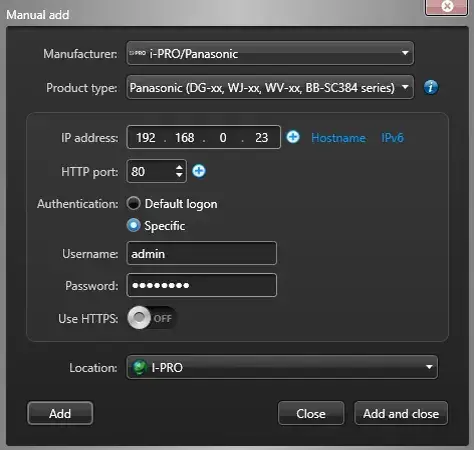
2. On the manual addition screen, enter the required information and then click [Add and Close].
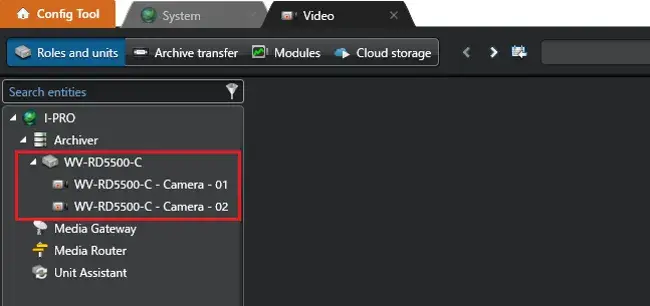
When the Security Radar is registered in Genetec Security Center, it appears as two devices under the same unit:
Camera - 01 (Camera video on Security Radar)
Camera - 02 (Radar map on Security Radar)
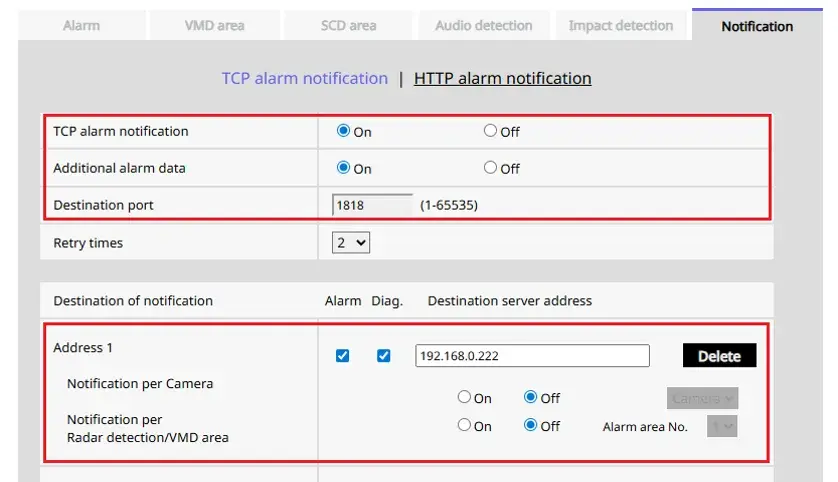
Note:
The Security Radar [Alarm] > [Notification] settings are configured automatically.
If alarm notifications are not received, please ensure that the [Destination port] and [Destination server address] are configured correctly.
3.2 Event Notification Settings
Configure the settings so that alarms can be received in Security Desk.
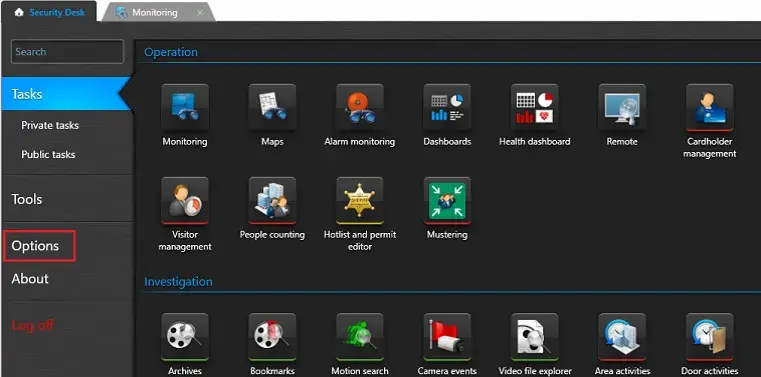
1. Click [Options] > [Events] > [Event options] in Security Desk.
2. Check the target events.
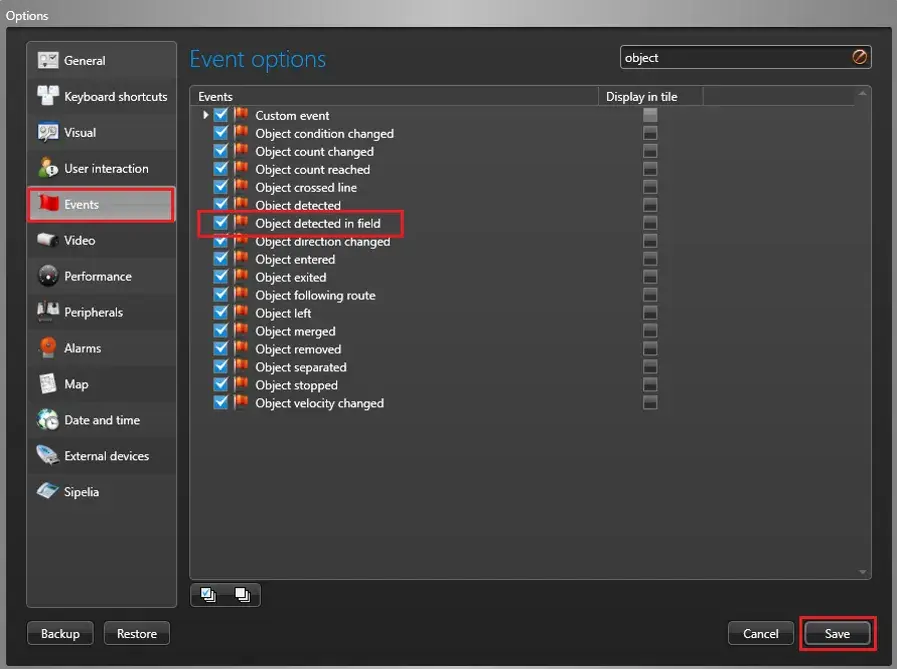
3. After checking the settings, click [Save].
Available events:
| Security Radar: Detection mode | Genetec Security Center: Event |
|---|---|
| Intruder | Object detected infield |
| Loitering | Loitering |
| Cross Line | Object cross line |
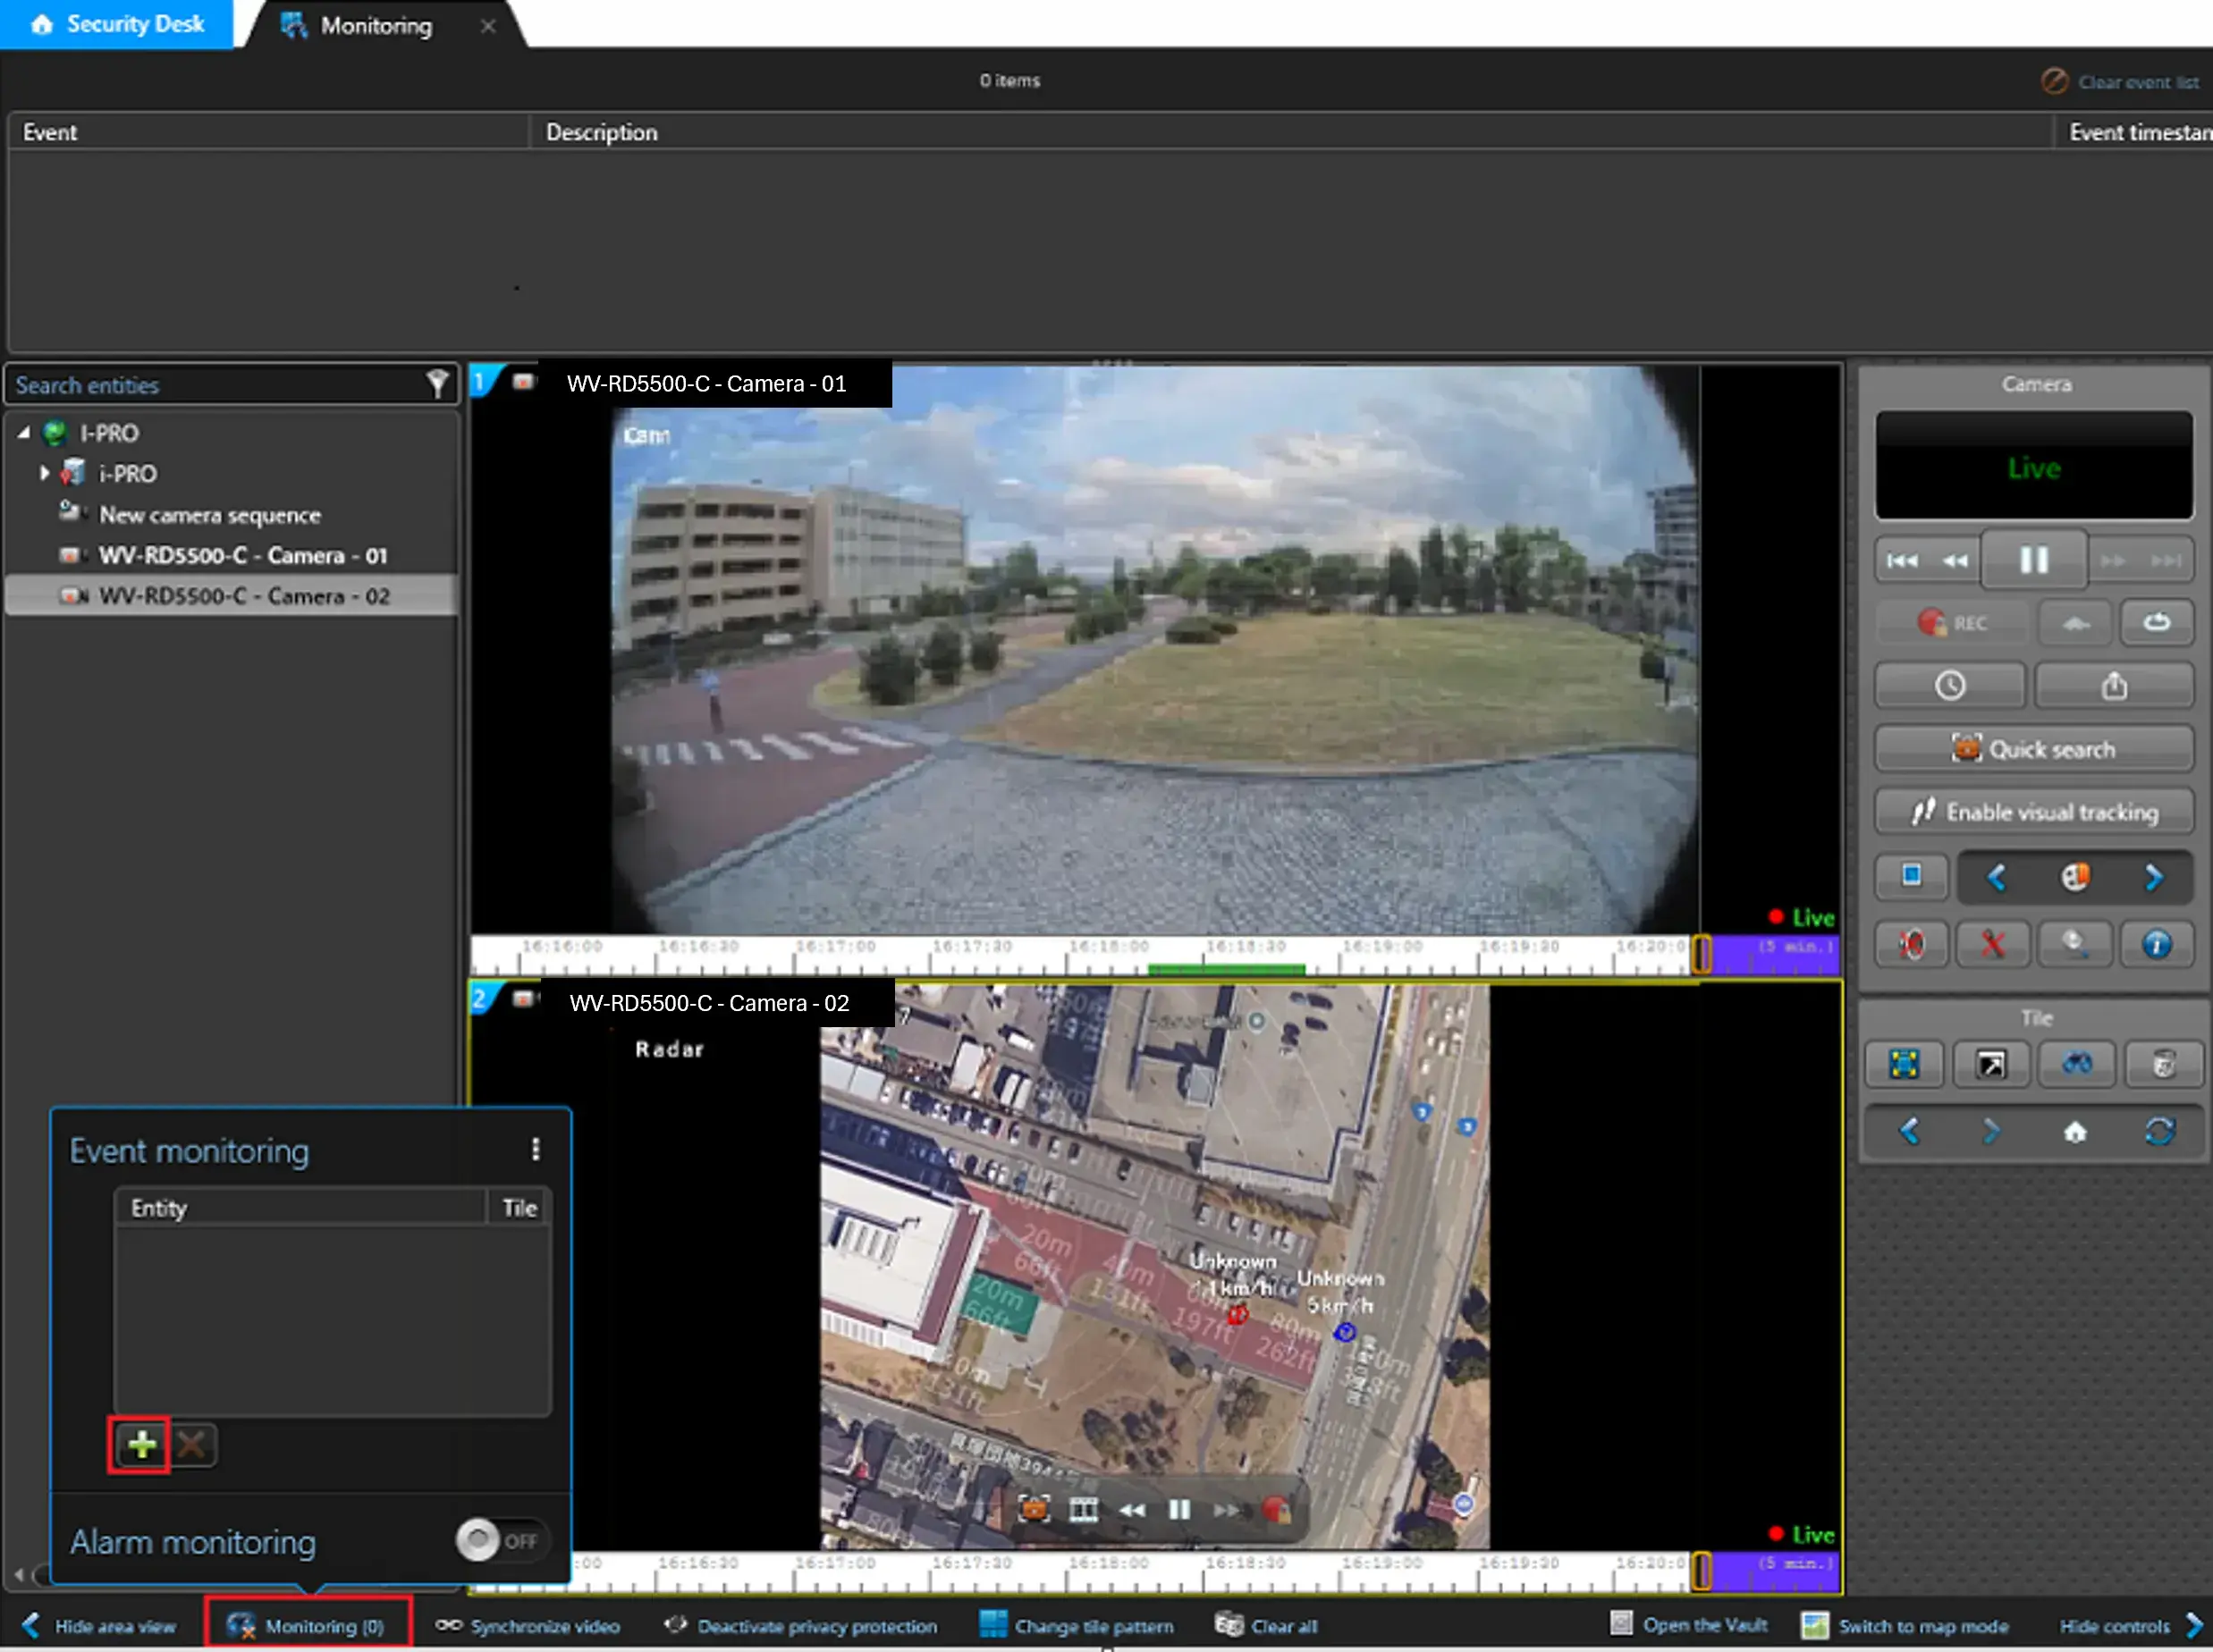
4. Click [Monitoring] in the lower left corner of the Monitoring screen.
5. Click [+] (Add) of the Event Monitoring.

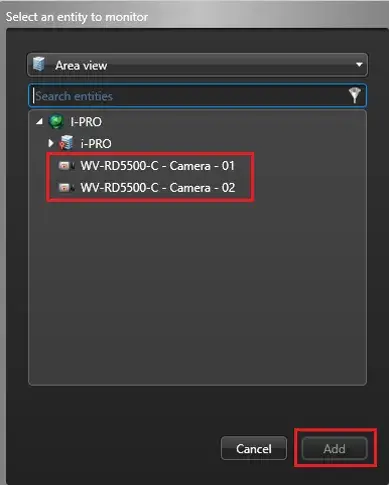
6. Select target Radar of the [Select an entity to monitor], and click [Add].
3.3 Alarm Monitoring Screen Display Settings
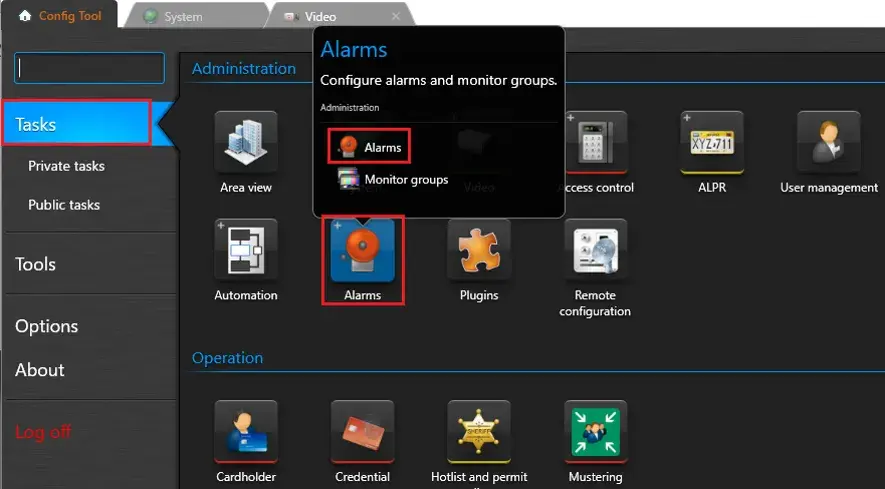
1. Click [Tasks] > [ Alarms] > [ Alarms] in Config Tool.
2. Click [+Alarm] in the lower left corner of the alarm screen.
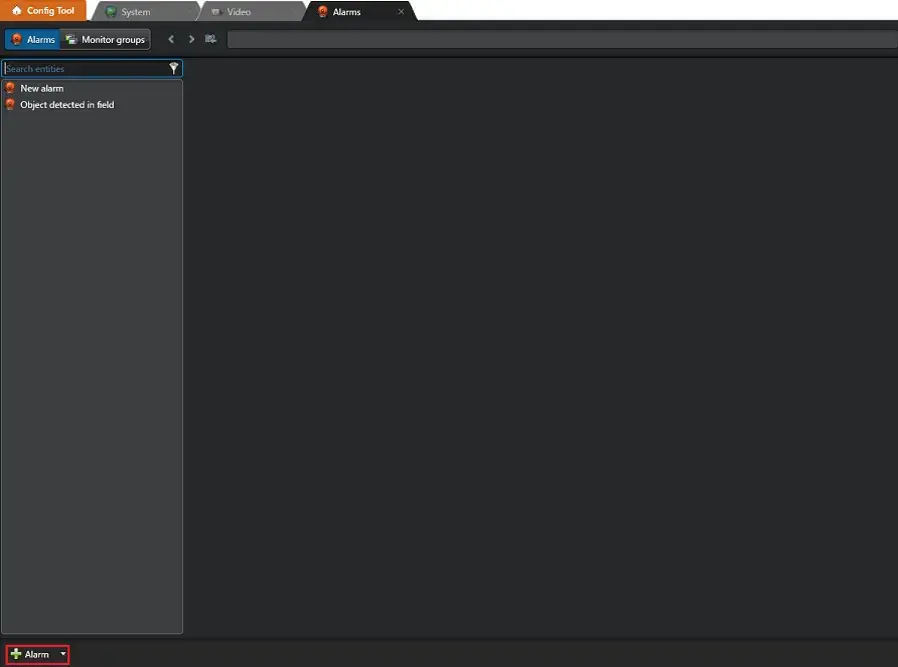
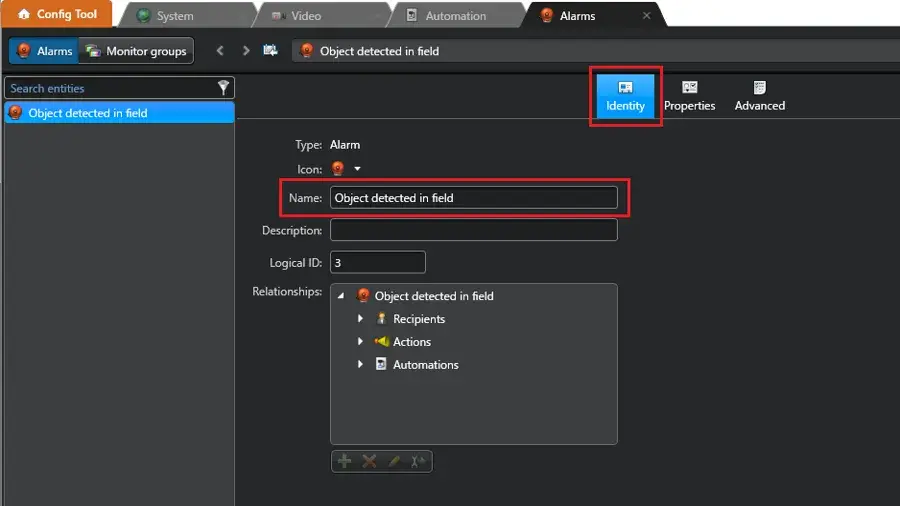
3. In the newly added [New alarm], enter any name in [Identity] > [Name].
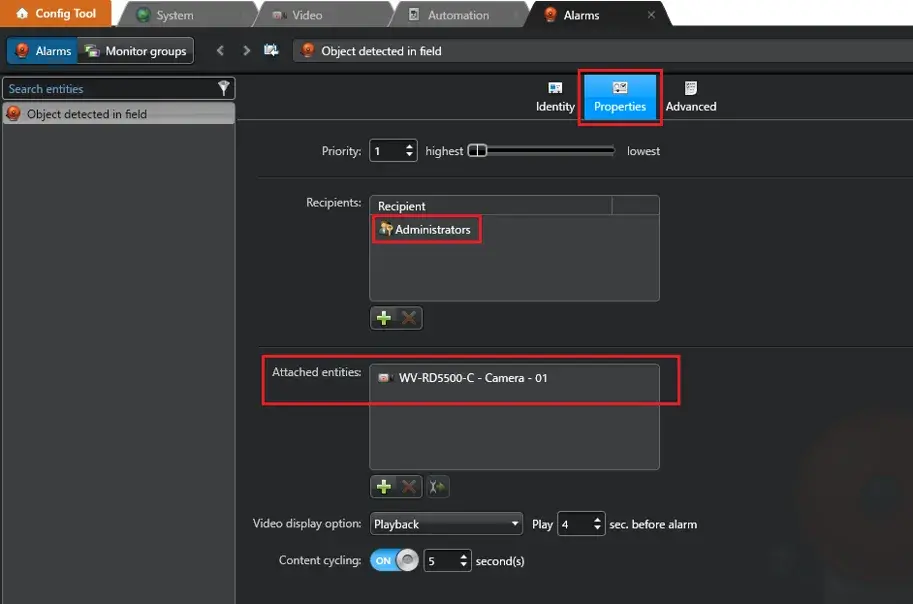
4. Click [Properties] .
5. Check that the appropriate users are configured in the [Recipients] section.
If no users are configured, or if you want to add users, click [+] to add them.
6. Click [+] in [Attached entities], add the cameras that you want to be displayed when an alarm is received.
7. After confirming the addition, and click [Apply].
8. Click [Actions] of the [Tasks] > [Automation] .
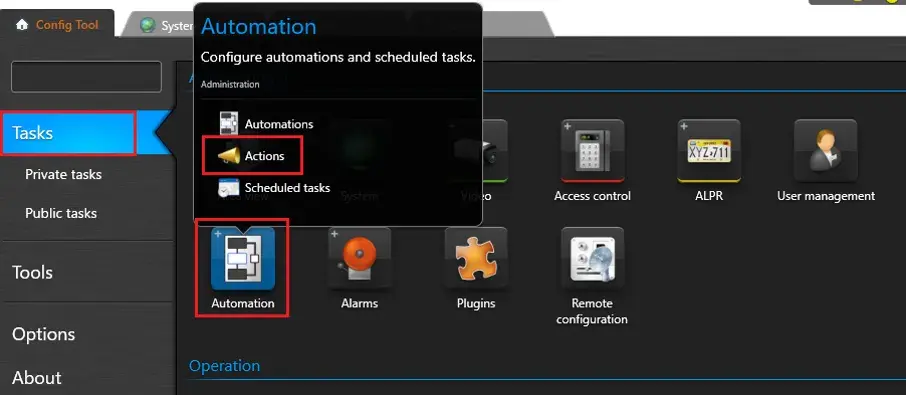
9. Click [+] of the [Actions].
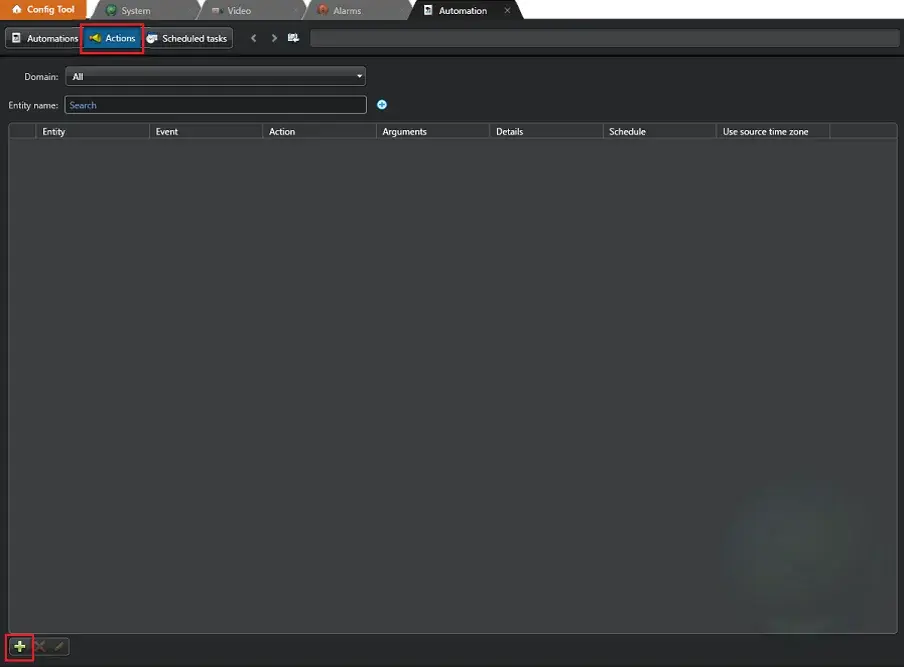
10. Click [+] of the [Actions].
When: Object detected in field
Action: Trigger an alarm
Alarm: (The alarm created in steps 1–7)
Enabled: ON
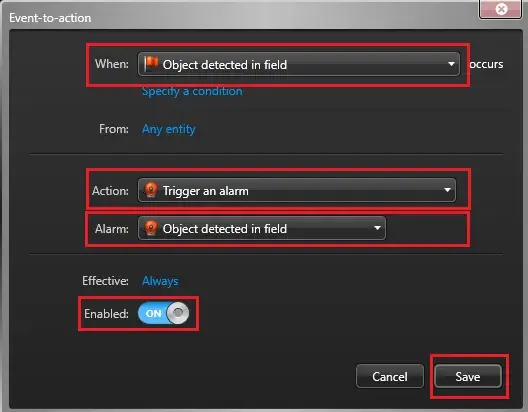
11. After completing the settings, click [Save].
4. Display in Security Desk
1. Start the Security Desk.
In the Monitoring view, Camera - 01 displays the camera video, and Camera - 02 displays the radar map.

2. When Security Radar is added in Steps 4 through 6 of Section [3.2 Event Notification Settings], Radar alarm notifications are displayed in the reception history, as shown below.
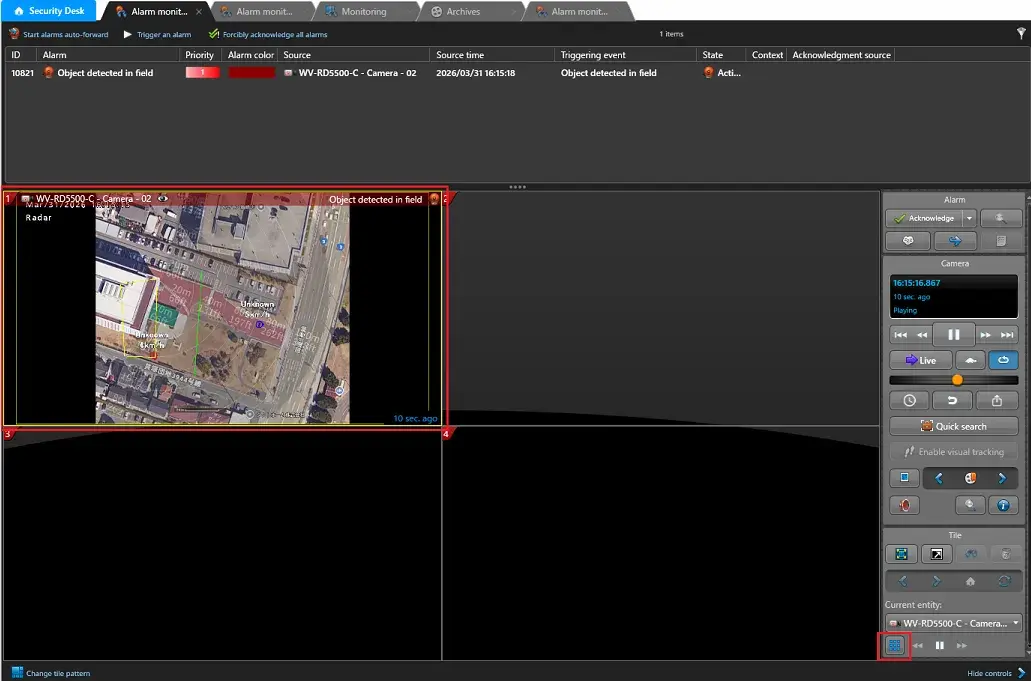
3. When the settings in Section [3.3 Alarm Monitoring Screen Display Settings] are configured, Radar alarm notifications appear on the [Alarm Monitoring] screen, as shown below.
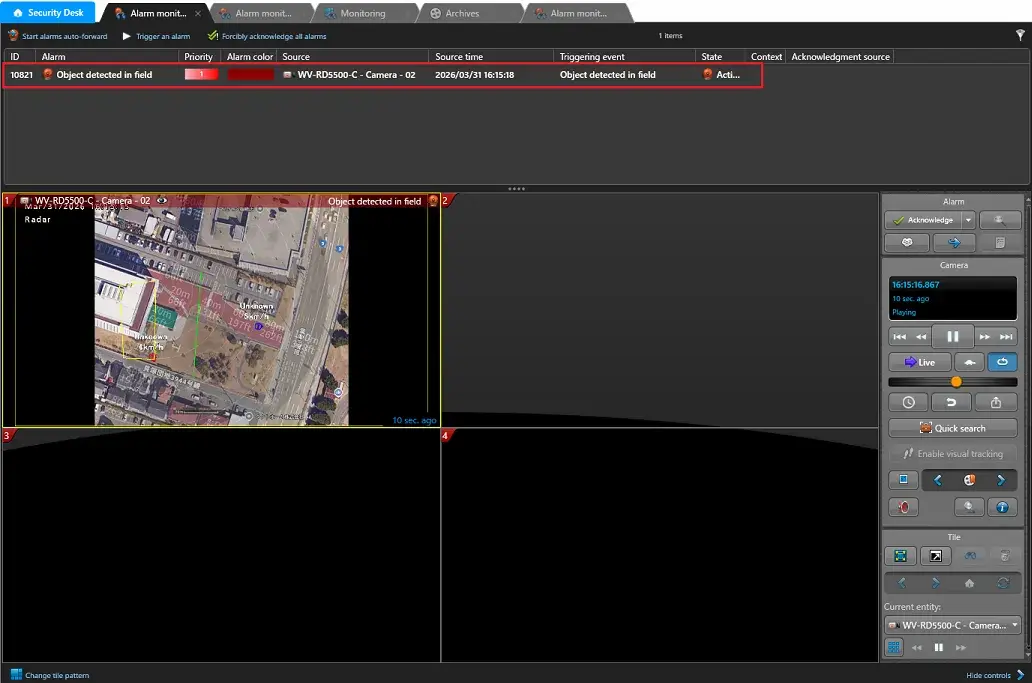
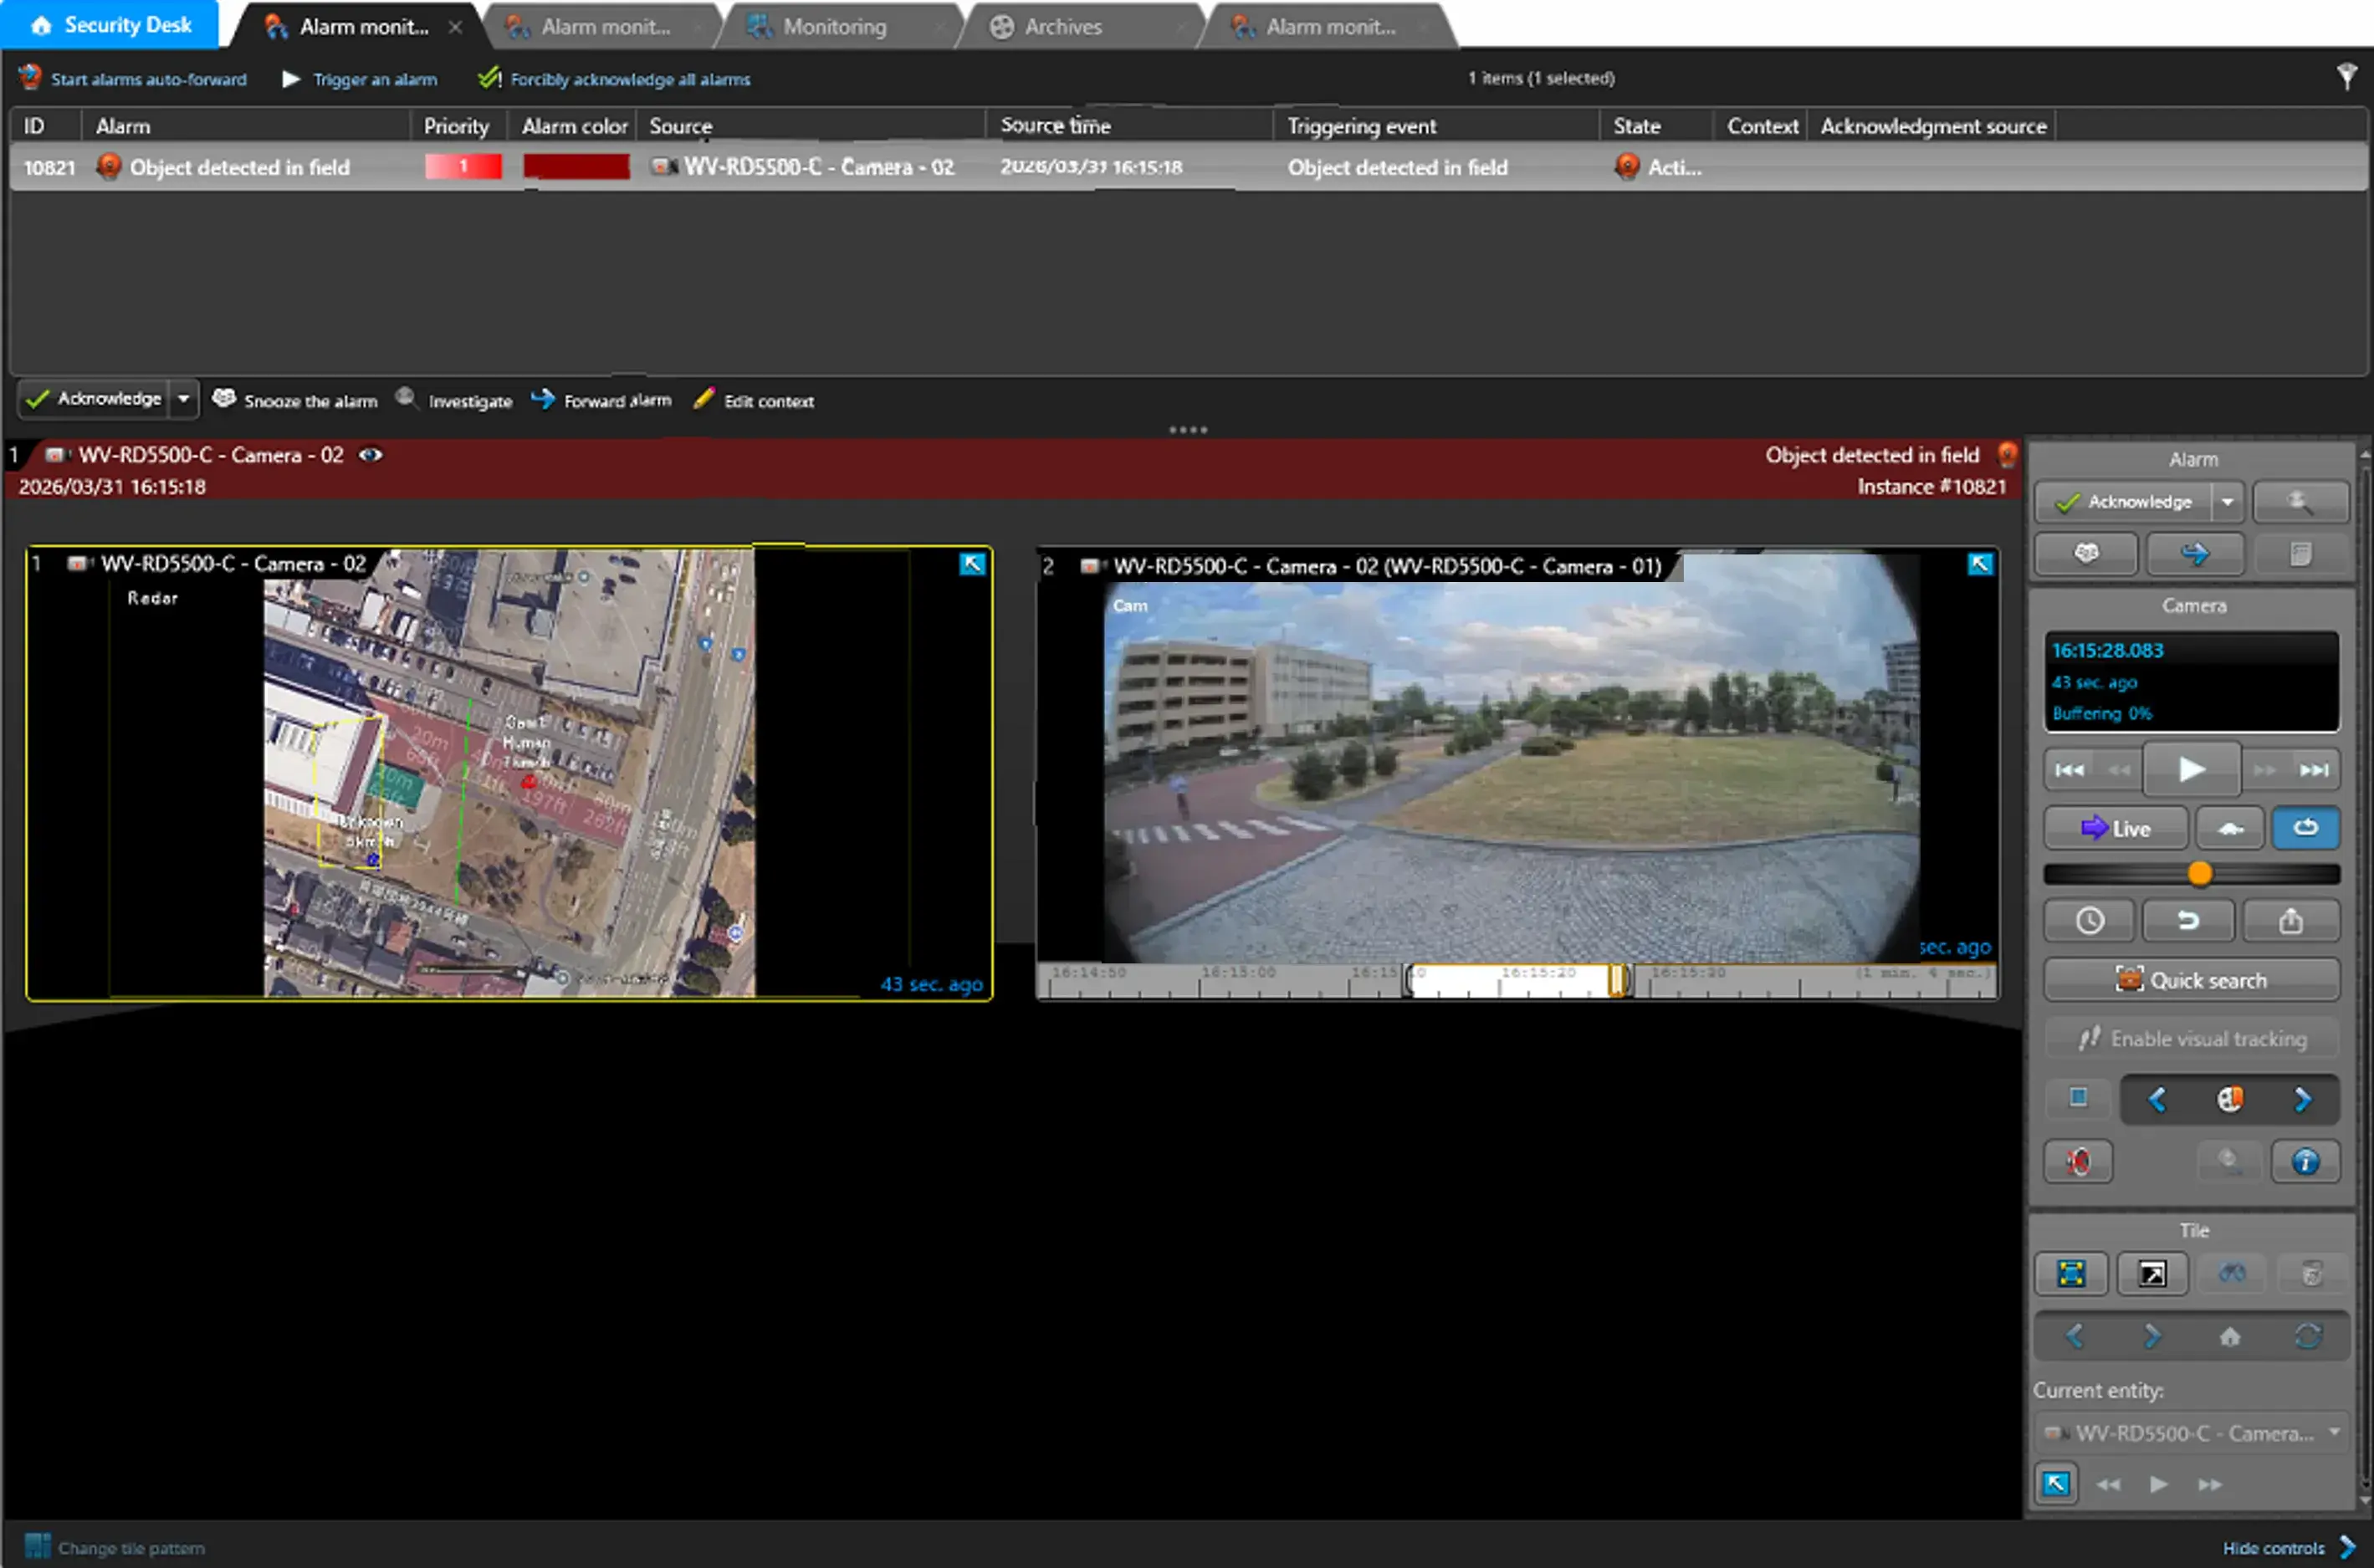
4. To display the related cameras configured in Step 6 of Section [3.3 Alarm Monitoring Screen Display Settings], select the alarm image displayed on the [Alarm Monitoring] screen and click [Unpack].
5. The added camera will also be displayed.
Genetec Security Center 5.11.3 / Driver Pack 11.14