Input alarm for Genetec
Last update: Sep, 2024
Input alarm(Terminal alarm) setting to Genetec Security Center.
<Genetec setting>
1. Register the camera with Genetec Security Center.
Refer to the camera registration for details.
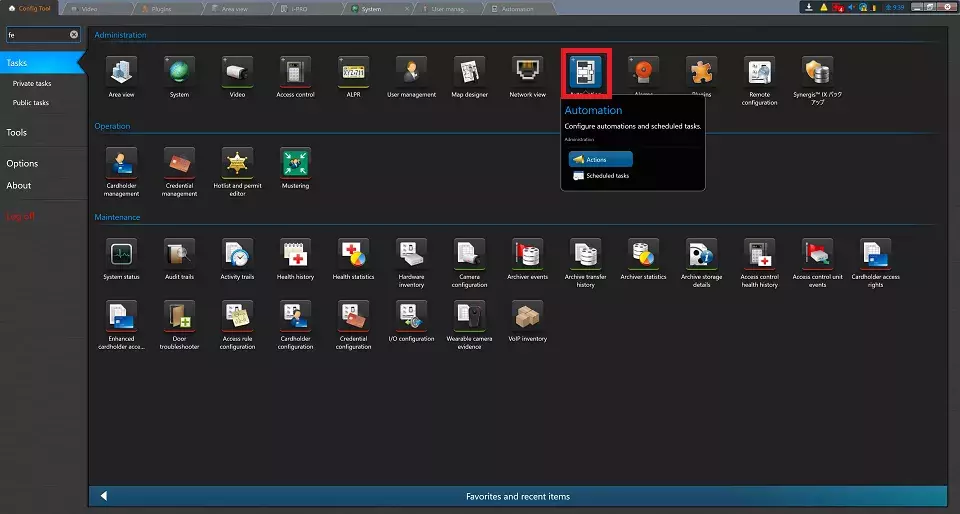
2. In Security Center, select [Config Tool] - [System] - [General settings] - [Actions].
Click the "+" button.
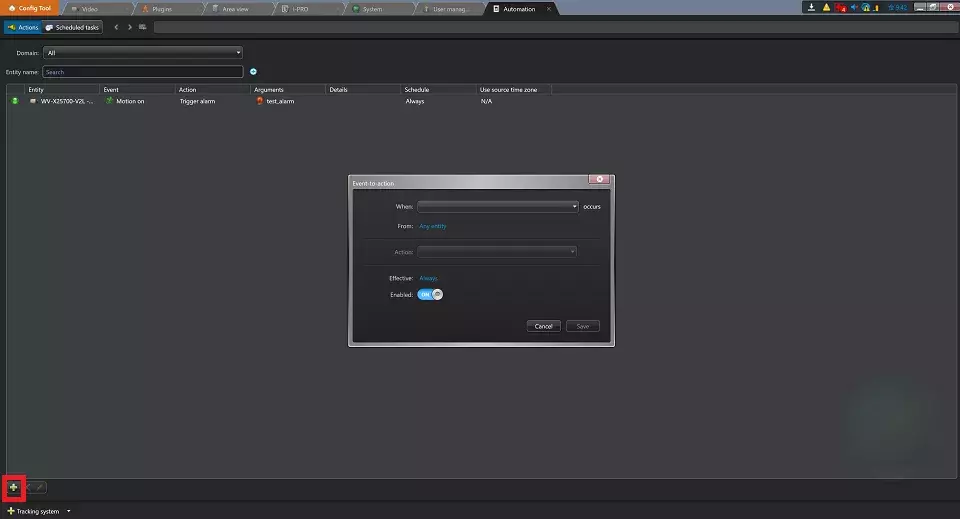
Set the Action. The following example describes how to start recording.
- When:Input state changed
- From:Any Entity
- Action:Start Recording
- Camera:Target Camera

3. In Security Center 5.12.1.0 or later, click [Config Tool] - [Tasks] - [Automation], then click the "+" button at the bottom left to add an action.
<Confarmation of Security Desk>
1. If you select "Start recording" in "Event-to-action", "Recording started(external)" will be displayed.

Genetec Security Center 5.12 / Driver Pack 12.5