Camera registration
Last update: June, 2023
Camera registration to Genetec Security Center
1. Start [Config Tool].
2. Enter your username and password, then click the [Log on] button.
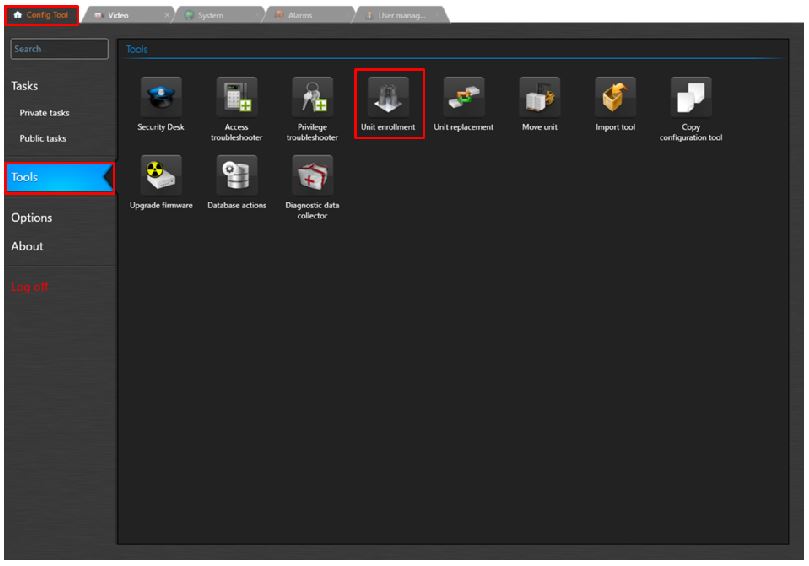
3. Select to [Config Tool] - [Tools] - [Unit enrollment].
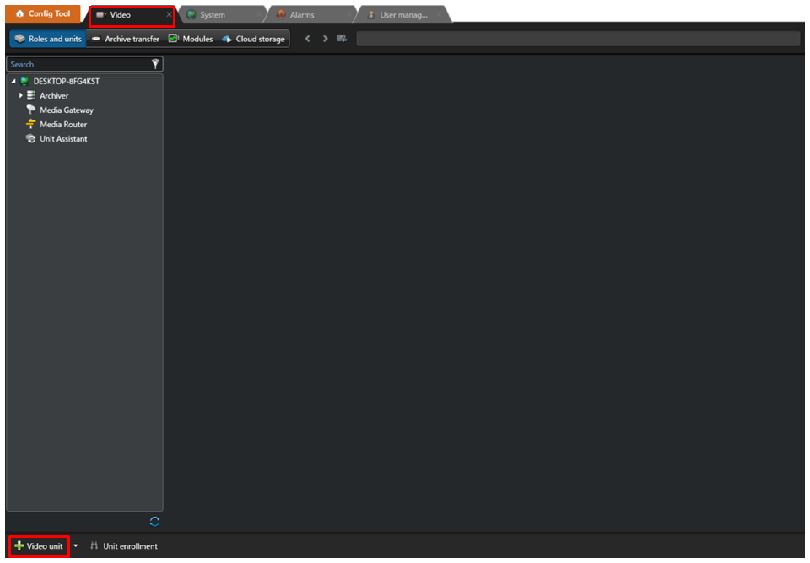
Alternatively, open the [Video] tab and click the [Video Unit] at the bottom left corner of the screen.
4. There are two methods for camera registration.
A. Manual.
B. Discovery.
A. Manual
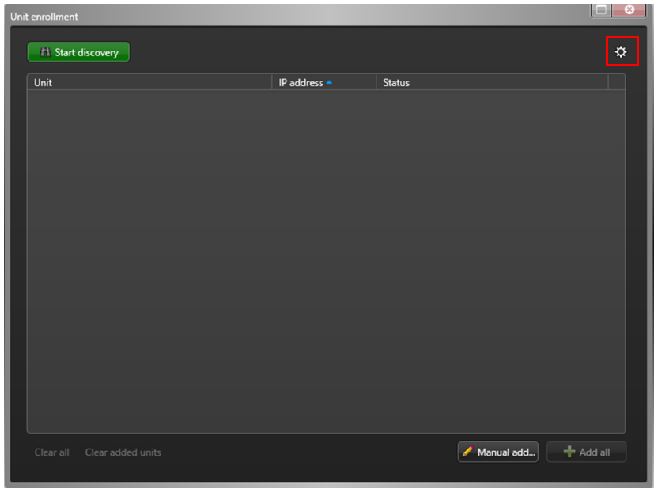
A-1. On the [Unit enrollment] display, click [Manual add...] in the bottom right corner of the screen.
A-2. Select [Video].

A-3. On the [Manual add] display, enter the information for the target camera.
- Input the IP address, Username and Password.
- Select the [Manufacturer] and [Product type].
Finally, click [Add] or [Add and close] button.
A-4. The registration is complete when "Added" is displayed.

B. Discovery.
B-1. Automatically detect and register a camera.
B-2. On the "Device Registration" screen, click the [Settings and Manufacturers] at the top right corner of the screen.
B-3. If "i-PRO/Panasonic" is not displayed, click the [+Add manufacturer] and select [i-PRO/Panasonic].

B-4. Click [Configure manufacturer].
Move the cursor to [i-PRO/Panasonic], and the [Configure manufacturer] icon will appear on the right side.
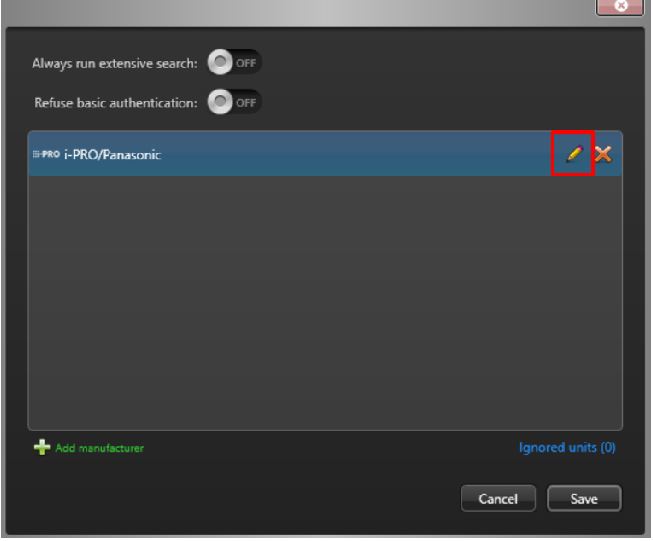
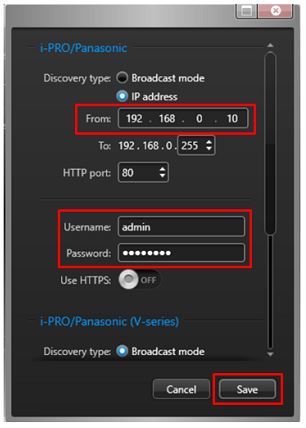
B-5. If necessary, enter the [From] IP address and [Username / Password] for the search range and click the [Save] button.
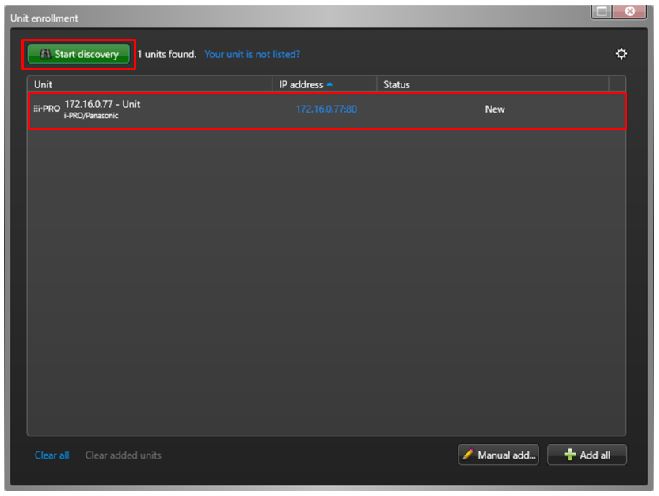
B-6. Click [Unit enrollment] - [Start discovery].
A list of detected cameras will be displayed.
B-7. When the registration is completed, the status of the camera in the list will be shown as "Added".

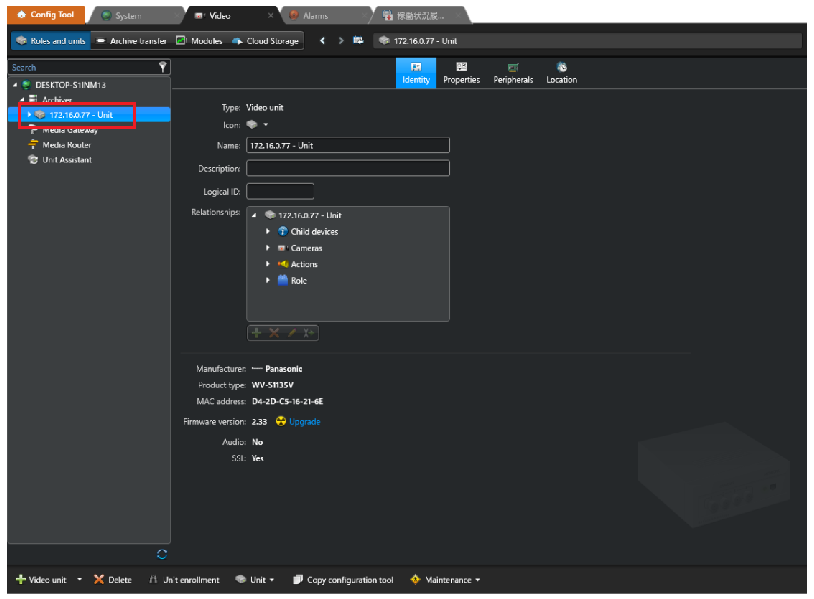
5. The registration is complete when the Unit is displayed under [ConfigTool] - [Video] - [Archiver].
Genetec Security Center 5.11 / Driver Pack 11.3