How do I create a custom Dashboard in MonitorCast?
- Video Insight VMS
- Installation/Configuration
Generally, most of the commonly used items are already located on the default Dashboard. However, there is an option to create a custom Dashboard that provides a few extra options and gives you the ability to rearrange modules to your liking.
1. Open MonitorCast Web App and log in using an Administrator account
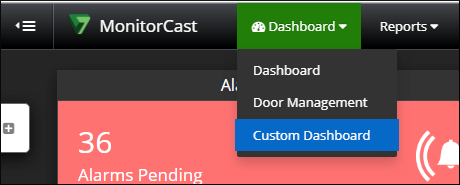
2. From the top menu, hover over Dashboard and choose Custom Dashboard
3. On the left side of the window, click on the White Tab with the Plus symbol
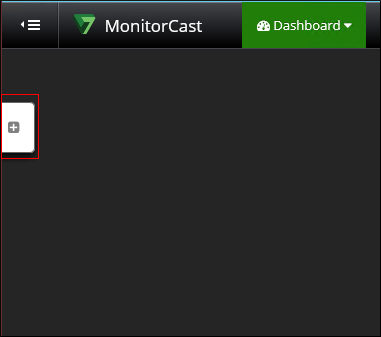
a. A menu should expand with different options to choose from for the Customer Dashboard

i. Each item provides a different widget, for an explanation of what each widget is, skip to Explanation of Widgets
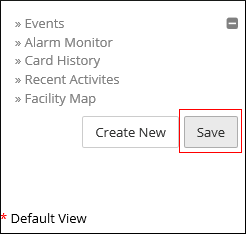
4. In the menu, select the Widgets you want to use on your Custom Dashboard
5. Click Save
6. In the new window that opens, you can save the Dashboard to a new set or overwrite and existing Dashboard set
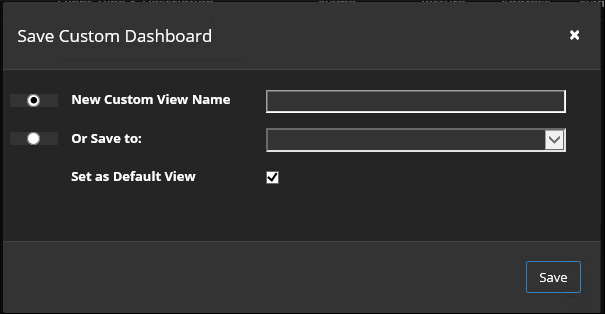
a. You can also assign the Dashboard you created as the default view when you select “Custom Dashboard” from the top menu
Explanation of Widgets
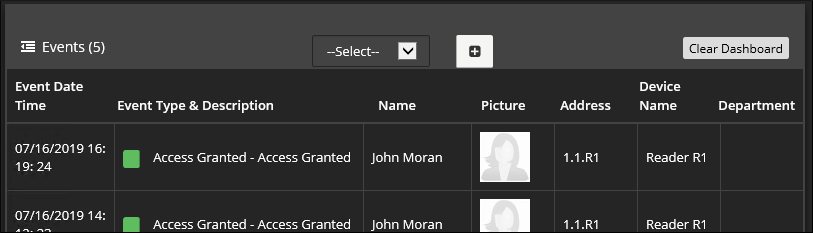
・Events - This is the Event History that is provided on the standard Dashboard
・Alarm Monitor - This is the display from the main Dashboard that shows you pending, unacknowledged alarms

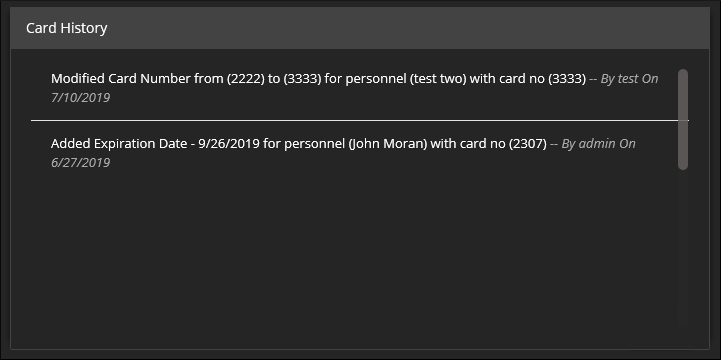
・Card History – This will give provide a history of changes made related to card usability for personnel in MonitorCast
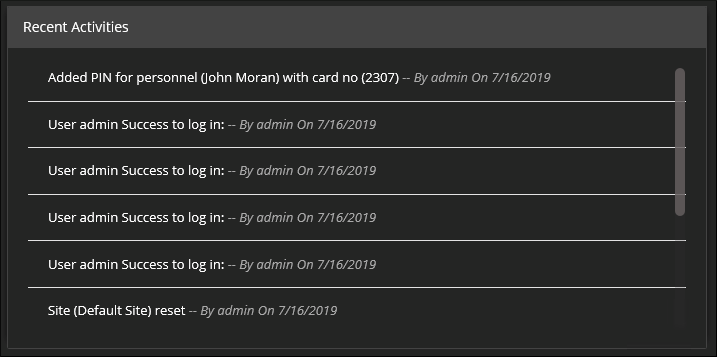
・Recent Activities – This is essentially a System Log of events and changes made throughout MonitorCast,
from adding PINs to personnel to when a site was reset
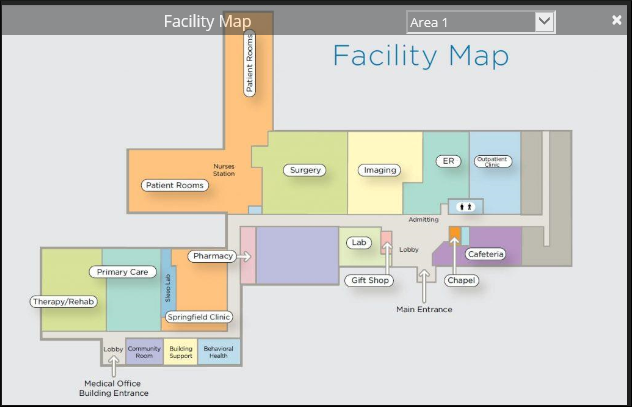
・Facility Map – This displays a Facility Map with Doors on it to see the current status
Article number:us-fr124341
Last updated:October 16, 2025
Was this article helpful?