How to access the SD card on a network camera via FTP in Windows 10
Last update: February, 2020
This article describes how to access the images in the SD card on a network camera in Windows 10 with workarounds.
Please note that this article is to provide our verification result and does not guarantee the result of any other operations.
This article applies to: i-PRO Extreme Cameras and i-PRO SmartHD Cameras with SD card recording
Issue (FTP site does not appear on the screen in Windows 10)
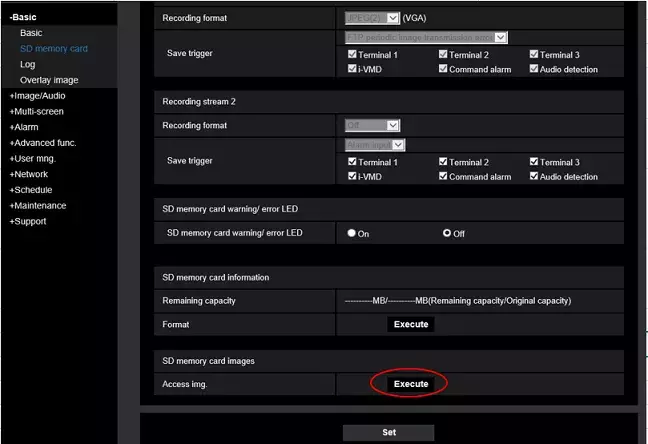
1-1. Go to Setup-> Basic-> SD memory card, and click "Execute" in "Access img."
1-2. Type your user name and password for user authentication

1-3. The below screen shows up
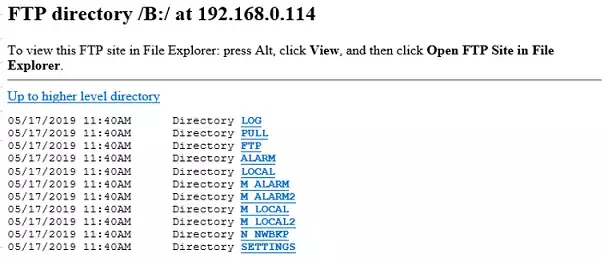
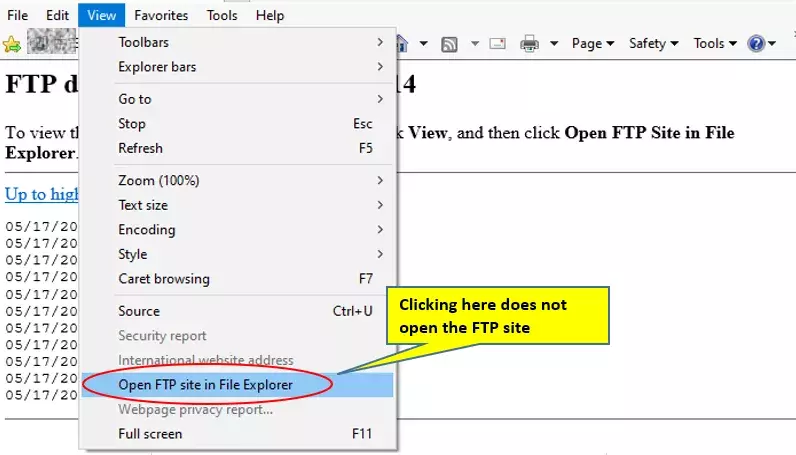
1-4. Press Alt and click "View" to display the view menu
Then click "Open FTP site in File Explorer" but FTP site does not appear on the screen
Workaround#1
2-1. Type "ftp://IP address of your camera/B:/" in the address bar of windows explorer
(Please see the below sample of IP address "192.168.0.114".)

2-2. Type your user name and password on "Log On As" screen and click "Log On"
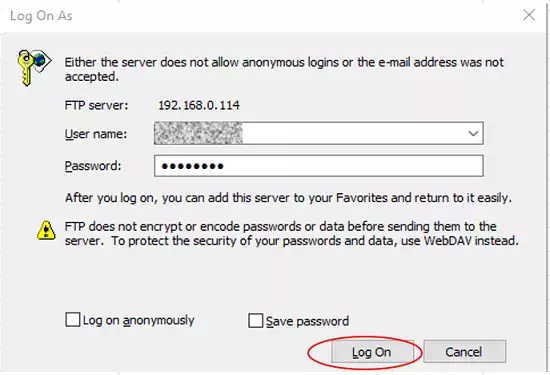
2-3. Confirm that the files on the SD card are listed in Windows Explorer as below

Workaround#2 - Create a shortcut for quick access to the folder
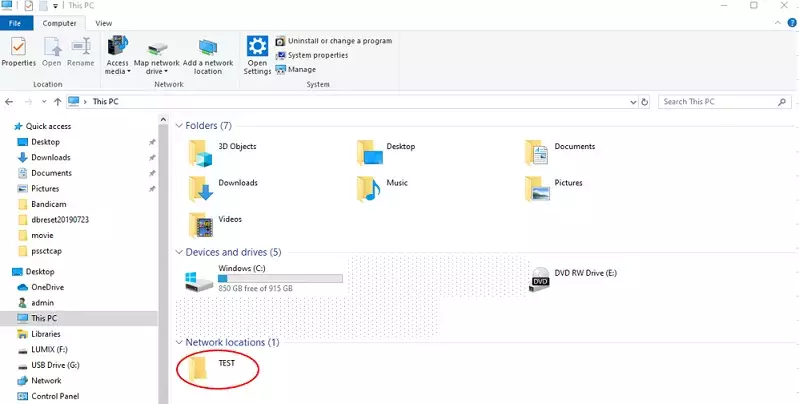
3-1. Open "This PC" on the desktop and click "Add a network location" in the ribbon
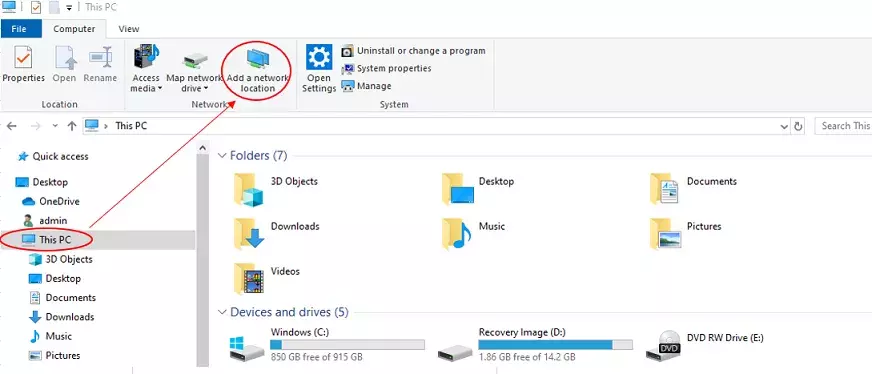
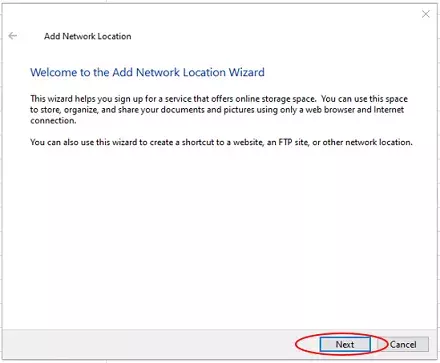
3-2. Click "Next" on the wizard that opens
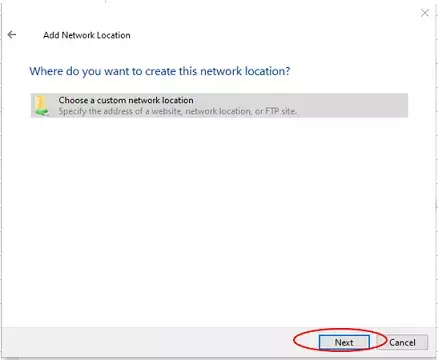
3-3. Select "Choose a custom network location" and click "Next"
3-4. Uncheck "Log on anonymously" and type the user name of your camera, and then click "Next"
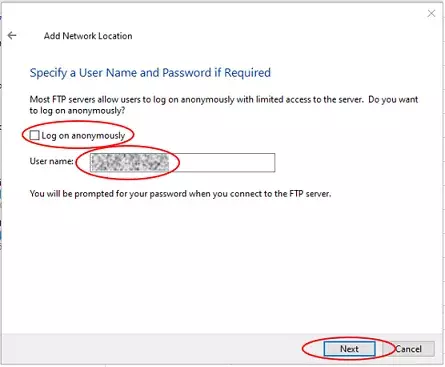
3-5. Type a name for this network location and click "Next"
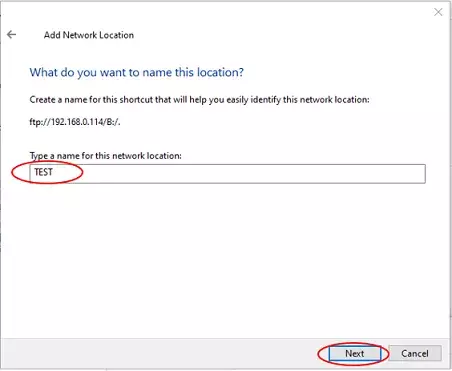
3-6. Uncheck "Open this network location when I click Finish." and click "Finish"
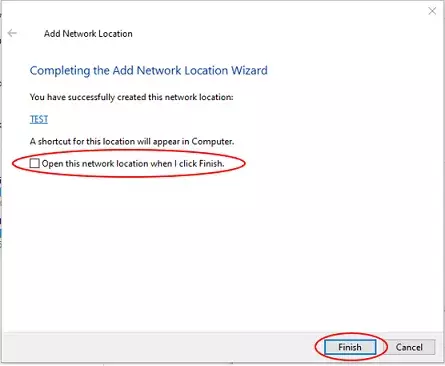
3-7. Confirm that the newly created shortcut is listed under "Network locations" in "This PC"
Double-click this shortcut to access the SD card from the next time.
